
VB.net Deployment using installShield in visual studio 2013

The following steps will illustrate how to deploy applications using intallShield software in Visual Studio 2013. First you need to download the installShield software and install it.
Click here to register and download installShield at Flexera software company.

Step 1

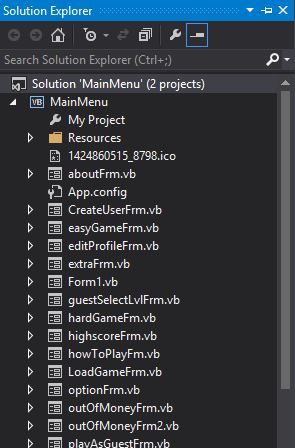
Open you application and on the solution explorer panel right click on solution name to bring the context menu select ADD and then select NEW PROJECT


Step 2

After selecting NEW PROJECT a windows will appear on the left panel select SETUP AND DEPLOYMENT under other project types.
Add an appropriate name and select the location


Step 3

The project assistant start up page will open, follow the instruction and click next then on the application information page select  GENERAL INFORMATION on the left panel. Change the user software identification tag to no


Return to the previous screen and change company name, application name, website of the company and you can also select an icon as well


Step 4

Click next and on the installation requirements page select whether the application will run on a specific operation system or compatible with all operating system then select additional software that you want to install along side with your application


Click next to go installation architecture. For the evaluation copy of installShield this page will be unavailable 


Step 5

The application file screen is perhaps the most crucial one as it allows the user to add their application file known as "primary output" in the deployment project. Select the company name folder under the program file folder, a windows will pop up then select primary output


Step 6

To add a shortcut of the application in the target computer's desktop then on the application shortcut click on NEW which will pop up a windows.


Select the application in the program file folder then click Open. Then check the Start Menu and Desktop shortcut check box 


Step 7

In the application registry screen perform the necessary changes and on next which will open the installation interview.


The installation interview screen


Step 8

In the solution explorer select the deployment project, under the customize the setup appearance check all the screen that you want to appear while installation 


Step 9

Next select Release under the prepare for release section. 


Select singleImange on the left panel and click on the setup.exe tab. change the installShield Prerequisite Location the  Extract From setup.exe. Then right click on the deployment project in the solution explorer then select on Build.


After building successful simple go to the location folder open the express folder to open and install the application.

Comments

Popular posts from this blog

Car Wash System vb.net

This software consists of a database that save the registration number of every vehicle being wash along side with the date, type of wash made and price Screen Shot Source Code To view records in the database: Dim conn As OleDbConnection = New OleDbConnection("Provider=Microsoft.ACE.OLEDB.12.0;Data Source=|DataDirectory|\washRcd.accdb;Persist Security Info=False") Dim sql As String sql = " SELECT * FROM tblwash" conn.Open() Dim dt As New DataTable Dim cmd2 As New OleDb.OleDbDataAdapter(sql, conn) cmd2.Fill(dt) DataGridView1.DataSource = dt DataGridView1.Refresh() conn.Close() To insert new record in the database: Private Sub insert() Dim conn As OleDbConnection = New OleDbConnection("Provider=Microsoft.ACE.OLEDB.12.0;Data Source=|DataDirectory|\washRcd.accdb;Persist Security Info=False") Dim updateSql As String = String.Format(...

C# Windows Form : PetCare

A desktop application using C# as technology. the application is titled as "PETCARE" a system that a pet shop or veterinary can use it to store basic information about the pet's owner, details about the pet and the purpose of the visit to the veterinary or pet shot. The system also contained a stock management module that is used to track pet food purchased by a particular customer Screen Shot You can login both as a staff or as the admin. the admin has the privilege to register new staff and view details about transaction and other sensitive information. The system encrypt user password using MD5 algorithm The home screen of the application You can either add a new pet with its owner details or add another pet belonging to the same owner. both can be done using the same form below. and each pet owner will be given a reference number. Veterinary can use the application to store information about treatment done for a particular pet Can t...

Student Information System - AngularJS , ASP.NET API, C#

Web based application the student information system is a small application that allows user to register and login to view information about a particular student and can perform several actions like Login and register to the application View students  Add new student Delete a particular student Update user information Screen Shot Project architecture routing.js, config.js and app.js allow the application to route from one partial view to another and config.js is used to save all the endpoint needed to access the API.   For separation of concerns, in the solution panel separate partial views, controller and services in different directories and reference it in index.html to enable angular to load all the files required Login process login.html LoginController.js Using $resource from AngularJS to make an API call and response  with a user details model UserViewModel and UserDetailsViewModel Using Unity fo...